7 Creative Uses For EQ That Every Producer Needs To Know About
Table of Contents
There are very few things in music production and audio engineering that are absolutely essential. While effects like saturation and modulation, such as chorus and phaser, can enhance a mix, their effects can often be replicated through more basic techniques. However, EQ is one tool you cannot do without.
It’s straightforward to learn and get comfortable with early in your music production journey, but it offers an infinite number of creative possibilities. While many tutorials cover the common uses of EQ, they often stop at the basics.
So, let’s explore seven more unconventional ways to use EQ to bring your mixes to life and maximize your tools. If you’re just starting out, I recommend checking out Native Instruments’ recent blog post on EQ 101 for a solid overview. Once you’ve got the basics down, let’s dive into these seven creative techniques to get the most out of your EQ.
EQ For Width
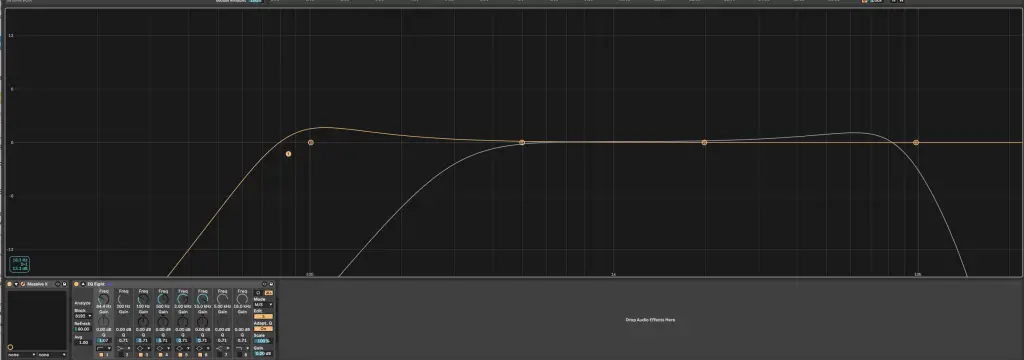
Our perception of width in a mix relies heavily on contrast. If the left and right channels differ slightly, we perceive the sound as coming from distinct sources, creating a sense of width. This concept was popularized by double-tracking in the ’70s and ’80s, where recording multiple takes and panning them hard left and right created this effect. EQ can help mimic these differences.
By using EQ in left and right modes, you can introduce slight variations between the channels, like a high-shelf boost on one side and mid-range bumps on the other. This subtle difference enhances the perception of width. This approach works especially well on pads, reverbs, and other supporting elements that are already placed further back in the mix.
By incorporating this technique, you can add perceived width to your stereo field without adding more layers or effects.
EQ For Sound Design

When applied aggressively, EQ can significantly shape the sound design of a synth, synth patch, or even an entire layer of synths. By implementing high-Q, high-gain reductions or boosts at specific nodes, you can create movements that mimic comb filters or formant sweeps. These effects become especially dynamic when parameters such as resonance, Q value, and frequency cutoff are mapped to macro knobs or automated in real time. While conventional comb filters or standard filter automation can achieve similar outcomes, the precision of EQ allows for much more nuanced control.
This level of detail enables you to tailor the tonal shifts and movements exactly as needed, transforming the sound as it evolves across the automation curve.
Mapping multiple EQ parameters gives you precise control over how the sound develops musically. For instance, adjusting the cutoff points to align with fundamental frequencies ensures that the transitions make harmonic sense. By focusing on specific high-Q peaks, you can guide the EQ’s formant-style movements to hit exactly the right spots.
This approach can produce results that feel more cohesive and intentional than what conventional LFOs or modulation sources often achieve. The ability to pinpoint and sculpt these tonal changes provides a creative edge, enabling you to design sound in a way that is both musically grounded and technically refined.
EQ For Tuning

As tempting as it can be to just slap a reverb preset on an auxiliary bus or on a group channel overall and calling it a day, it’s a missed opportunity to not push it a little step further. An EQ can be a valuable job to introduce some extra musicality to your reverbs while also helping them be more controlled and just mesh with the rest of the mix as well. Reverb is only as musical as the instruments and signals being sent into it, but you can add that extra little cherry on top of the cake of musicality by tuning the reverb to the rest of the song.
Sure, it doesn’t have as much of a tonality as maybe just hitting a middle C on a piano will have, but it’s still based off of frequencies and being able to use EQ to carve out to the frequencies so that there’s maybe slight bumps at the root note. The frequencies that correspond to the root note of the chord or to the key of the song or whatever can really help inject some of that musicality or at least heighten the musicality of the reverb in line with the rest of the music.
While you shouldn’t spend a ton of time doing this, it is a good kind of rule of thumb to kind of be tuning and cutting your frequencies around the fundamentals of the key of your song just to once again inject that musicality into the backdrop texture and vibe of the reverb of your track.
EQ For 3D Warmth

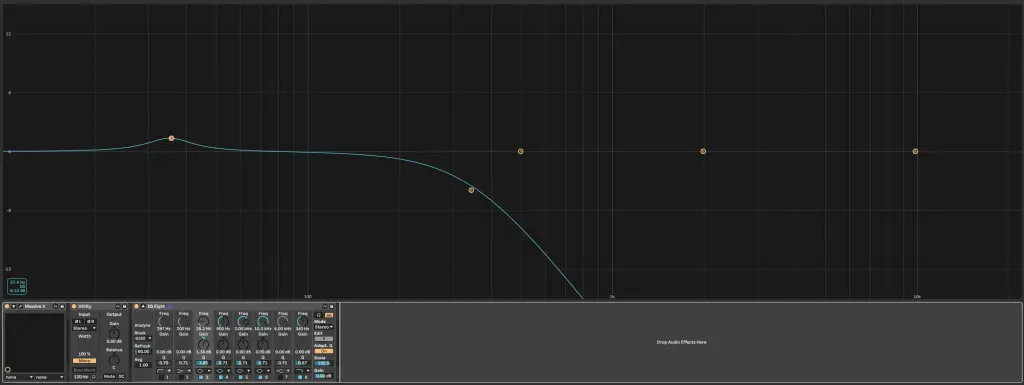
When mixing, you’re working with two primary dimensions: the frequency range (top to bottom) and the stereo field (left to right). While it’s common practice to keep basslines and sub frequencies in mono or centered in the mix, this often leaves the sides of the stereo field lacking warmth and low-end weight. As a result, mixes can sometimes feel thin or sterile despite having a punchy and full bass in the center. Mid-side EQ is an effective way to address this by adding warmth and presence to the periphery without interfering with the energy and impact of the bass and kick in the middle.

To reintroduce warmth, I often use mid-side EQ on pad layers or other soft, sustained elements. By cutting the low-end from the mid-channel while being less aggressive on the sides, I allow the warmth and weight of these pads to fill the extreme left and right of the stereo field.
This keeps the center clear for sub-energy while ensuring the sides feel more dynamic and full. This technique isn’t limited to pads—it can be applied to effects sweeps, vocal harmonies, or other elements that could benefit from additional weight on the sides. It’s a versatile method to enrich the mix’s periphery without creating conflicts in the center, making it a valuable addition to your mixing approach.
EQ For Roundness

One of the most common mistakes I notice with my students in music production is having too much top-end in their kick drums. Most of the students I teach are working in genres like deep house, progressive house, and organic house—styles that often feature softer, four-on-the-floor percussion patterns. The kicks they use typically have a lot of mid-range or upper mid-range presence, sometimes layered with hi-hats to help them cut through the mix. In isolation, this can sound ideal for a punchy kick drum.
The problem arises when these kicks are layered with other loops and programmed drums. Many loops already include high-frequency percussion elements, like downbeat accents or hi-hats hitting on beats 1, 2, 3, and 4. Combined with a bright kick drum, this can lead to an overwhelming amount of high-frequency content in the mix.
To fix this, I recommend using EQ. With the full drum group playing, start rolling off some of the high frequencies and upper mids on the kick. This simple adjustment can warm up the kick, giving it a more rounded, old-school character that complements genres like deep house and progressive house. It also creates breathing room for other drum elements, allowing the mix to feel more balanced and cohesive.
In my experience, most kick drums have more high-end than necessary, and dialing it back not only enhances the overall drum group but also makes the mix feel cleaner and more open.
EQ For Tonal Punch

Giving precise yet subtle bumps to different frequency bands can add that extra punch to certain layers in your mix. For example, a good starting point is applying a low Q value with a slight mid-range EQ boost, around 2-3 decibels, at the fundamental frequency of your kick drum that corresponds to the song’s key. This can add a club-friendly sub-energy and musical weight to your bass drum, enhancing its cohesion with the track.
You can also take this further by adding specific, more aggressive boosts to other instruments. For example, Skrillex popularized a prominent 200 Hz boost on snare drums, giving them a chest-thumping punch. Knowing how these frequency tweaks affect individual layers and contribute to the overall vibe can make your drums and other sounds really stand out, giving you greater control over how they hit in the mix. This approach goes beyond what the sample alone can achieve.
EQ For Depth

The first point about width lightly touched on the concept that mixes are all about contrast. Just as the contrast between the left and right channels gives the perception of width, the same principle applies to the forward and backward perception of a mix. Often, new producers want their mixes to sound bright and punchy, so they include many bright elements. However, too many bright transients can lead to a cluttered mix where elements compete for attention.
EQ can help create a sense of depth. We perceive sounds as closer based on the amount of detail we hear; more transient information and brightness make a sound feel closer.
By rolling off the highs and lows of supporting elements, you can push them further back in the mix, creating a sense of physical space and clarity. This not only adds a three-dimensional quality to your mix but also prevents high frequencies from overlapping and clashing. Removing unnecessary details from supporting elements will allow your main elements to shine, leading to cleaner, more balanced mixes.
Wrapping Up Creative Uses For EQ
All right, we’ve reached the end of this article. Is this a comprehensive guide to everything you’ve ever wanted to learn about EQs? Absolutely not. Instead, this article aims to provide seven actionable tips that you can add to your toolkit. Each tip is designed to be dynamic and adaptable, much like EQ itself, allowing you to apply them in various ways to bring your mixes to life.
Consider them as starting points that, once you familiarize yourself with, will open up even more creative and technical possibilities. I encourage you to experiment with these EQ moves in your next project and see how they can adapt to different situations. Best of luck, happy producing, and see you in the next article!


