How It Was Made: Pørtl – Elodie [Melodic House]
Pørtl’s debut EP Elodie on Magnetic Magazine Recordings shows a duo in full control of their process. Across the title track and its B-side Alba, they’ve locked in a sound that blends precision with organic movement. In this How It Was Made feature, they walk us through the tools and ideas that shaped the release — from their go-to virtual analog synths to workflow tricks that keep their tracks feeling alive.
Much of their production style comes down to stripping away the unnecessary. Whether it’s shaping the opening pad of Elodie in U-He Diva with slow filter and detune automation, cleaning up problem frequencies with Soothe 2, or adding subtle texture through formant shifting and random sequencing, every choice has intent behind it.
The tips they share go beyond the EP. From recording household sounds to using Max for Live devices for unpredictable patterns, they focus on adding imperfections, dirt, and randomness into the grid of electronic production. It’s a process built on trusting their ears, not their screens, and on knowing when to stop editing. That approach runs through Elodie and Alba, and it’s part of what makes this debut feel like the start of a bigger chapter.
U-HE DIVA
The Diva is probably the best virtual analog synthesizer ever made. The modular approach, which lets you combine different oscillators with filters and envelopes, makes this synth extremely powerful. There’s also a huge number of presets, although we don’t use many of them. We absolutely love the analog, unstable sound of this synth.
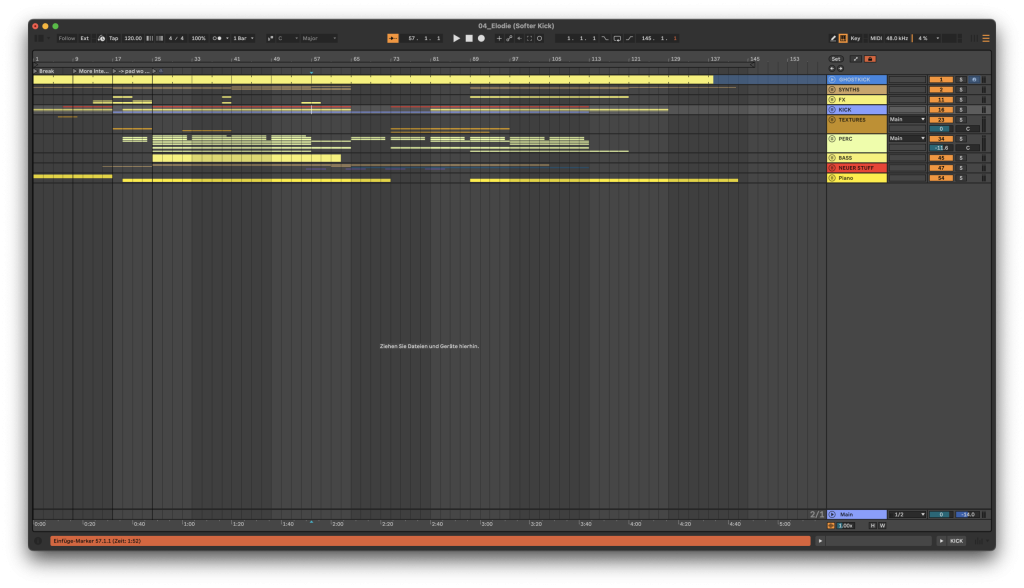
We use it a lot, especially for pads or bass of any kind. It’s perfect for sustain basses or when we want a more analog sound, like a Juno 106. The pad that plays right from the beginning and carries through the track was created with the Diva. It’s actually a very simple sound in its basic structure—nothing too special or fancy. The mood comes from the filter, which starts out closed and gradually opens up throughout the track to reveal the overtones of the sound. A slight detune automation with a slow LFO adds a bit more movement to the otherwise static sound. But most importantly, the ducking effect from the kick adds extra movement as the track progresses.
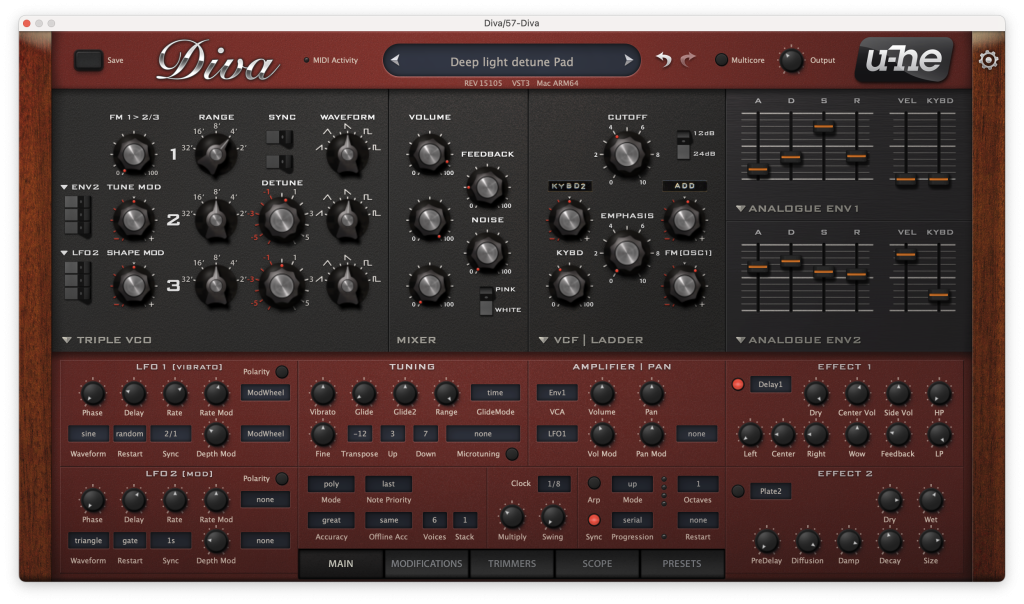
One sound, we didn’t use in this track, but we love to use otherwise, is the ‘Light Detune Pad’ preset we created. It’s shown in the screenshot and can definitely be copied. It’s more like a detuned UK-style pad, but works really well in house-oriented tracks too. Give it a try.
One trick we borrowed from Ben Böhmer, who’s known for using this synth in nearly every production, is hat it can be used super easily as a noise machine or percussion synth. The sound is really easy to shape and modulate.
Another cool trick involves using noise as a modulation source. You’ll need the ‘Dual VCO’ oscillator and a filter that allows FM modulation. Set the VCO mix 100% to VCO 2 and activate the noise source only in VCO 1. Now, if you turn up the cross modulation a bit, the sound gets a slightly detuned, gritty note from the white noise. You can get a similar effect, making the sound even dirtier and more interesting, by modulating the filter with FM (OSC1) and the white noise.
Lastly using the feedback control on the ladder filter and driving it a lot can create some very cool bass sounds that have an organic feel.
Oek Sound – Soothe 2
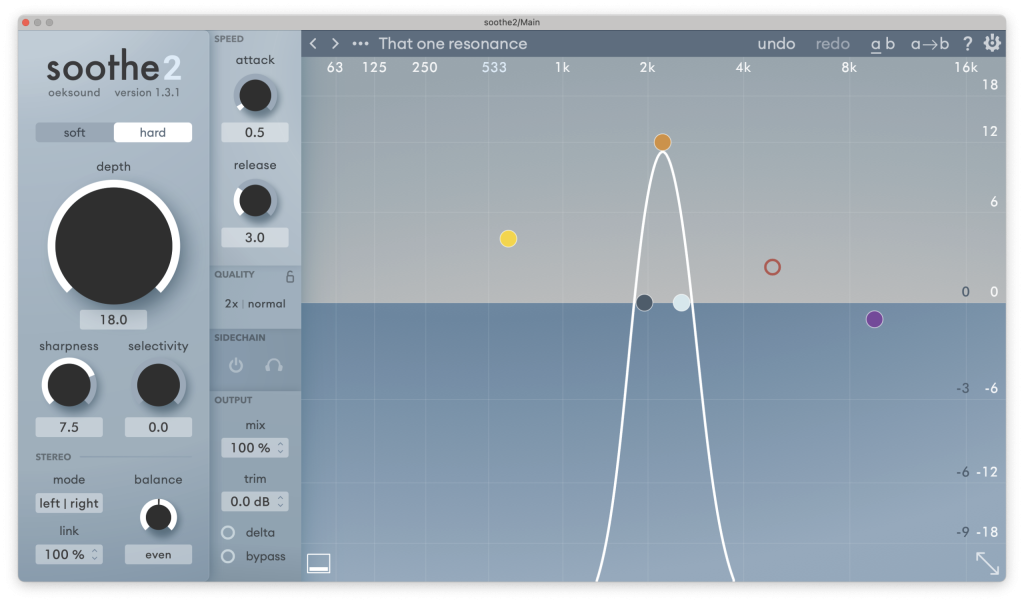
Soothe 2 is a dynamic equalizer plugin that automatically detects and reduces harsh or unwanted frequencies in real time. It’s perfect for smoothing out vocals, instruments, or entire mixes without affecting the overall sound. We love it because it’s super transparent, easy to use, and saves a lot of time while keeping everything sounding natural. Plus, it’s light on CPU, so you can use it on multiple tracks without any issues.
In the tracks, we mainly used Soothe to clean up the vocals and other sounds and filter out the harsh frequencies. We usually start with the ‘That One Resonance’ preset, which pretty much sums up how we use it, mainly to clean sounds.
Soothe is an amazing tool, but there’s a risk of overusing it and losing the character of a sound. However, it can also be used creatively for sound design. If you use the delta function cleverly, you can bring out frequencies that you’d normally filter out, creating a really dynamic effect by blending those frequencies back in.
We didn’t learn this trick from any specific artist, but we found that Soothe works really well to clean up the low end between kick and bass. It helps avoid frequency clashes and keeps the energy tight down there. You just route the kick into Soothe’s sidechain input on the bass track – super simple, but super effective.
Melda Production – MAutoPitch
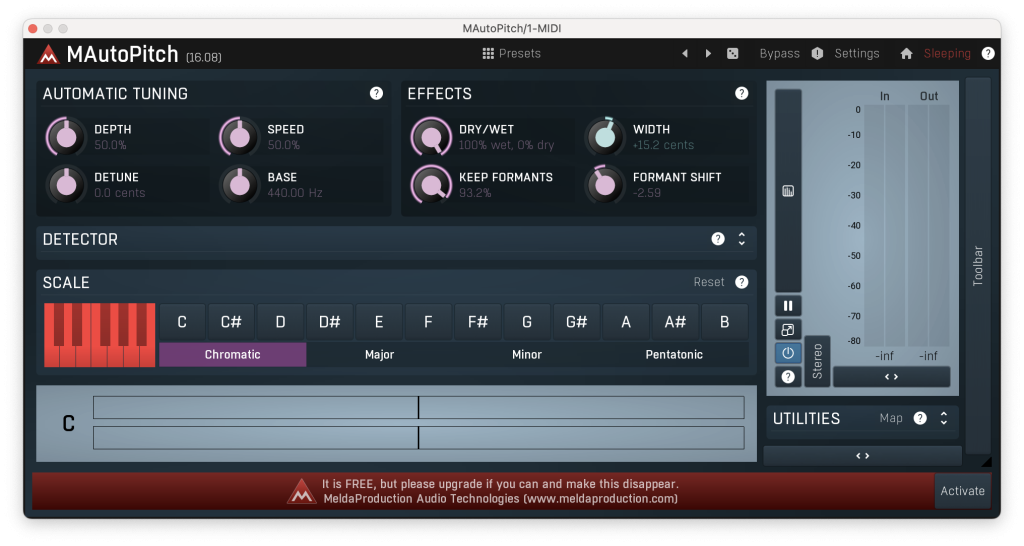
We use a lot of formant shifting on vocal samples in our music—it often gives us exactly the vibe we’re looking for. One plugin we kept coming back to on this EP is MAutoPitch. It’s a free pitch correction tool, but when you push it hard, it creates some really unique textures beyond standard correction. With the release of Ableton 12, we also started using the new native Auto Shift device.
We often automate the formant shifter within a section or ramp it up toward the highlight of a song. It gives the vocal chops an interesting, sometimes otherworldly texture, while also adding movement and variation. It’s a mix of vibe, ear candy, and pure excitement that brings the music to life.
Ableton / MaxForLive – Tombola
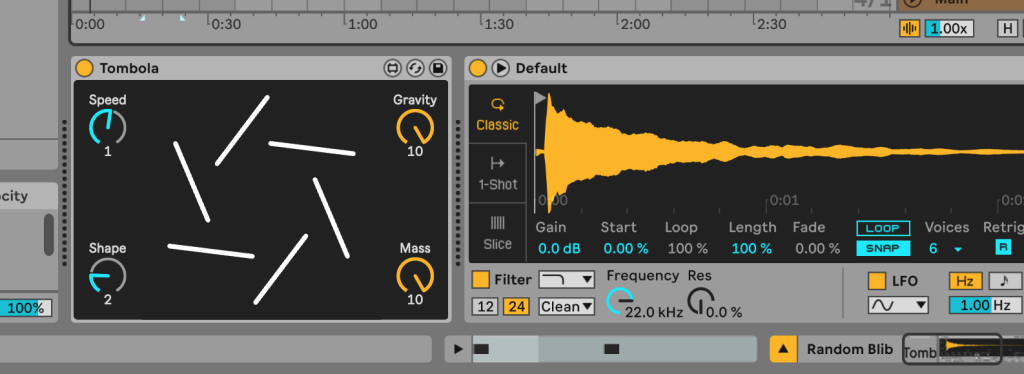
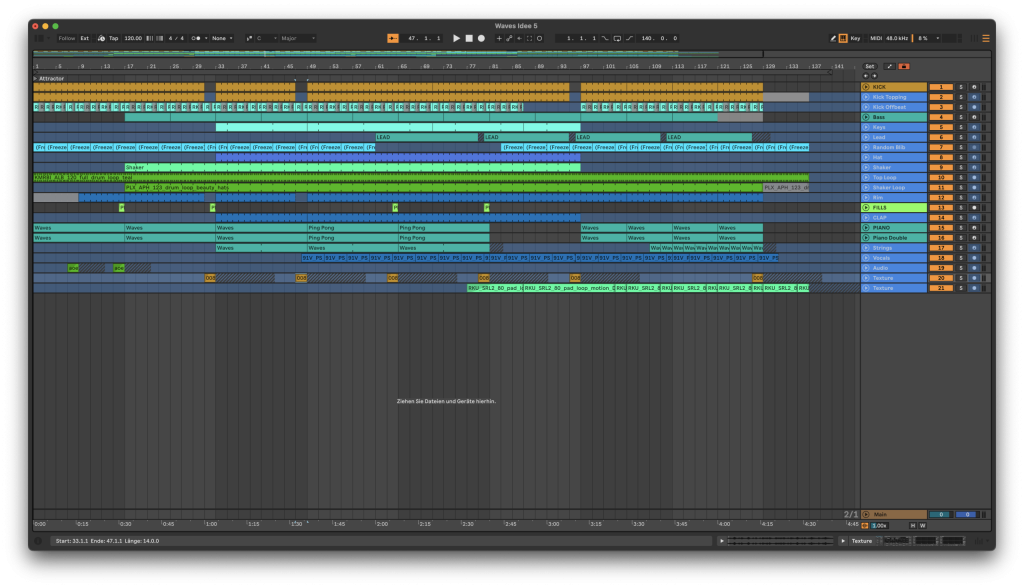
We both produce in Ableton Live and tend to use a lot of native effects as well as Max for Live devices. There are so many great tools in there to streamline your workflow or spark new creative ideas. One device we used on “Alba” was the free Tombola Max for Live device—to our knowledge it’s inspired by the OP-1. It is a random sequencer with a lot of creative potential. In Alba it triggers random midi notes that generate bell-like tones in the background. Instead of programming patterns manually, we just let it create something unpredictable.
Quick Fire Tips For Making This Genre
-
Screenshot -
Screenshot -
Screenshot -
Screenshot
Dirty sounds bring everything to life:
Always use some sort of “natural” sounds, which are not synthetic like field recordings, to bring that kind of dirt and imperfection to your track.
Imperfection is key:
We blend organic instruments like strings or piano with synths to add warmth, texture, and an imperfect charm to our electronic sound.
Random Rhytms:
Record a random household sound with no set timing — like shaking your keys — and use it to gate a synth pad. This creates evolving, unpredictable rhythms you’d never program by hand, adding natural movement and texture to your track.
Deactivate the Grid:
Here’s a simple but powerful rhythm trick in Ableton: load a percussion loop, turn on Loop mode, and switch off the grid. Now play your track and randomly shift the loop area around while it’s running. You’ll end up with unexpected and unique rhythmic patterns you probably wouldn’t have come up with otherwise.
Ears not eyes:
Bounce your track and listen without the DAW to focus purely on how it feels. You’re not seeing when new elements come in or when transitions happen – you just feel it. It quickly shows you if the track is moving too fast or if certain parts drag on too long.— and for club tracks, moving to it helps you feel what really works.