A Basic And Creative Guide On How to Quantize in Ableton Live 12
At A Glance
Quantization in Ableton Live 12 gives you a practical way to refine timing without losing the musical identity of your performance.
When you understand how these tools behave, you can strengthen the relationship between your drums, percussion, bass and chord work in a way that feels intentional rather than rigid. Timing becomes something you shape with awareness instead of something you fix at the end of a session.
This kind of refinement becomes easier when you work with clean, well-recorded material. For example, our Magnetic Mag x Black Octopus Sound sample pack offers drums and percussion that sit comfortably in the grid, which makes it simple to hear where your own parts need attention. Having reliable samples in your session creates a clear reference point while you learn how Live handles timing.
It also helps you understand how small timing shifts influence groove and energy across a full arrangement.
Quantization works best when you treat it as part of the creative process rather than a last-minute repair tool. When you apply it with intention, it supports your production workflow and gives your tracks a stronger rhythmic foundation. Let us walk through how to use these tools in a way that strengthens feel, clarity and musical control.
Quantizing MIDI in Ableton Live 12
When recording MIDI in Live, you have several paths to reliable timing.
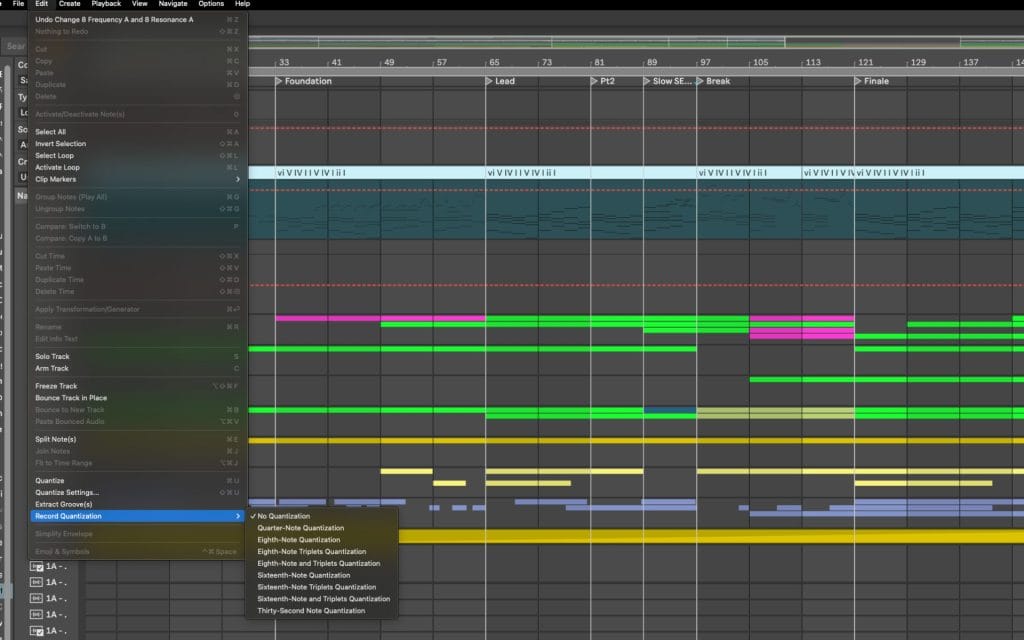
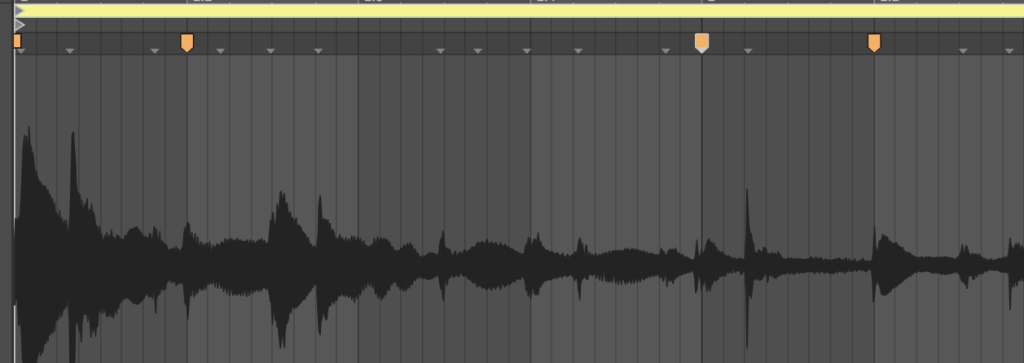
Record Quantization is the quickest way to keep takes organized while performing. Activate it from the Edit menu and choose a grid resolution that reflects the rhythm you are playing. Live will then align notes as soon as they enter the clip. This works well for drums, stabs and simple progressions.
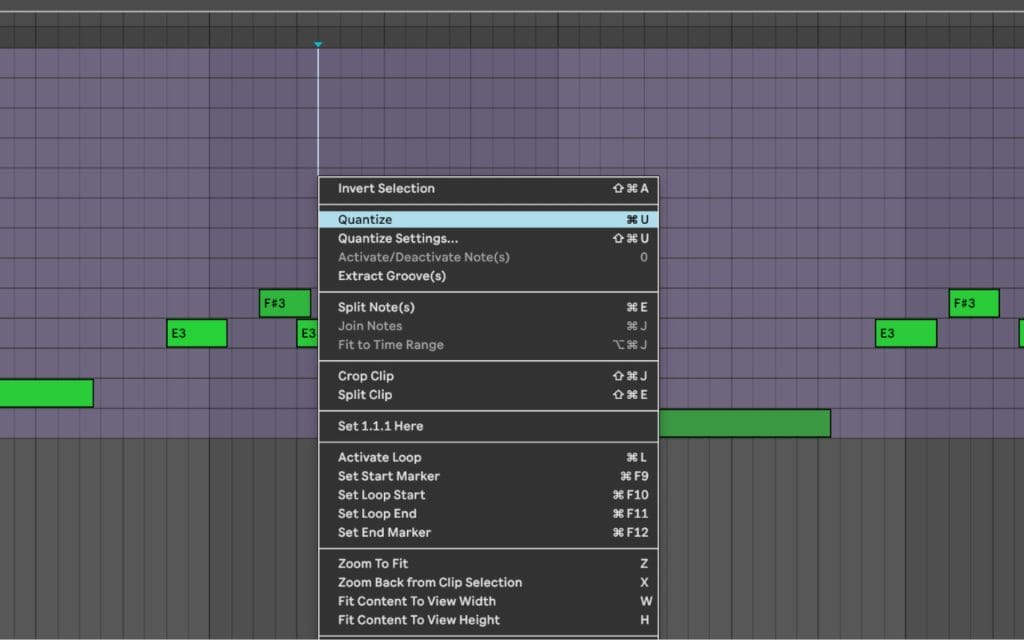
For more detailed control, switch to the MIDI Editor after recording. Select the notes you want to refine and open the Quantize settings. Here you can pick a grid size and set quantize strength. Lower strength values shift notes toward the grid without removing every nuance. Higher values create a firmer alignment. This gives you freedom to shape timing in a way that supports the arrangement.
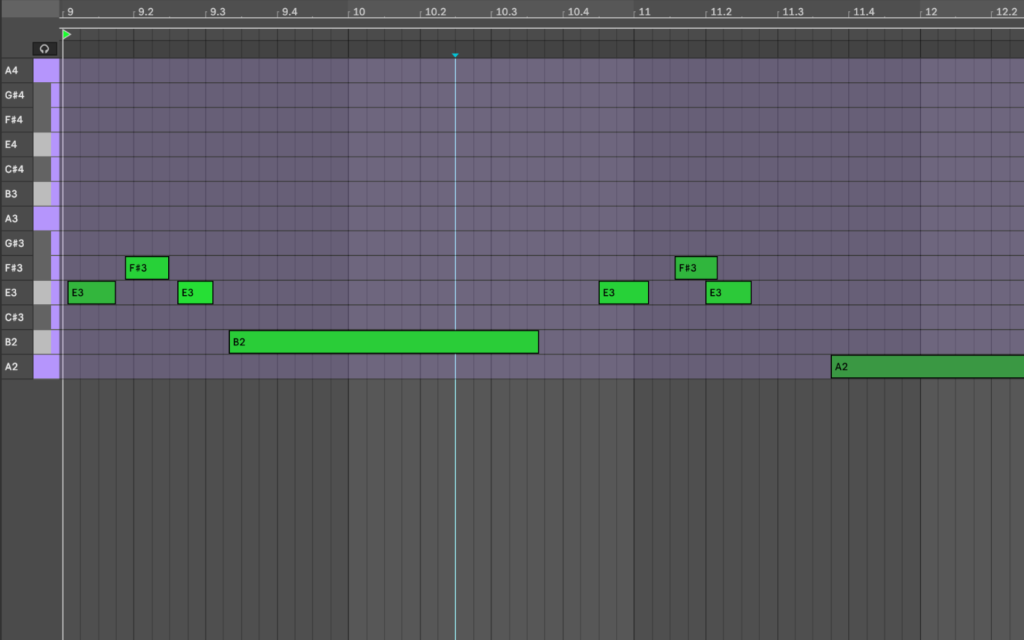
Some phrases need manual editing instead of full quantization. In those moments I zoom into the editor, adjust the grid size, disable snapping if necessary and move notes by hand. This helps when the performance includes intentional pushes, slight delays or small timing curves you want to preserve. Manual refinement often produces the most natural result!
Quantizing Audio in Ableton Live 12
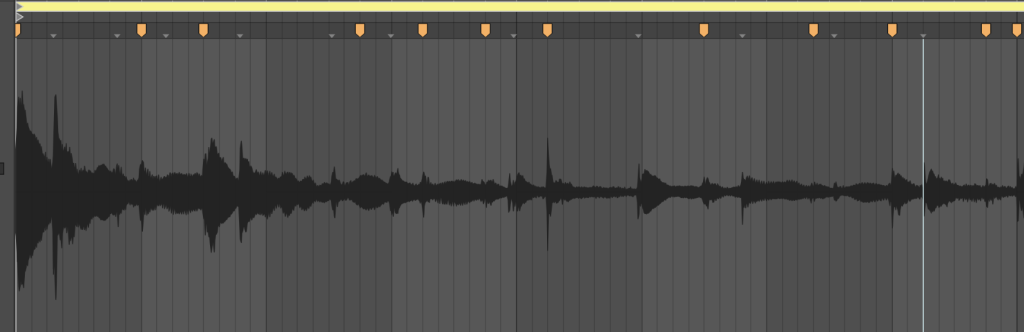
Audio timing relies on Warp Markers.
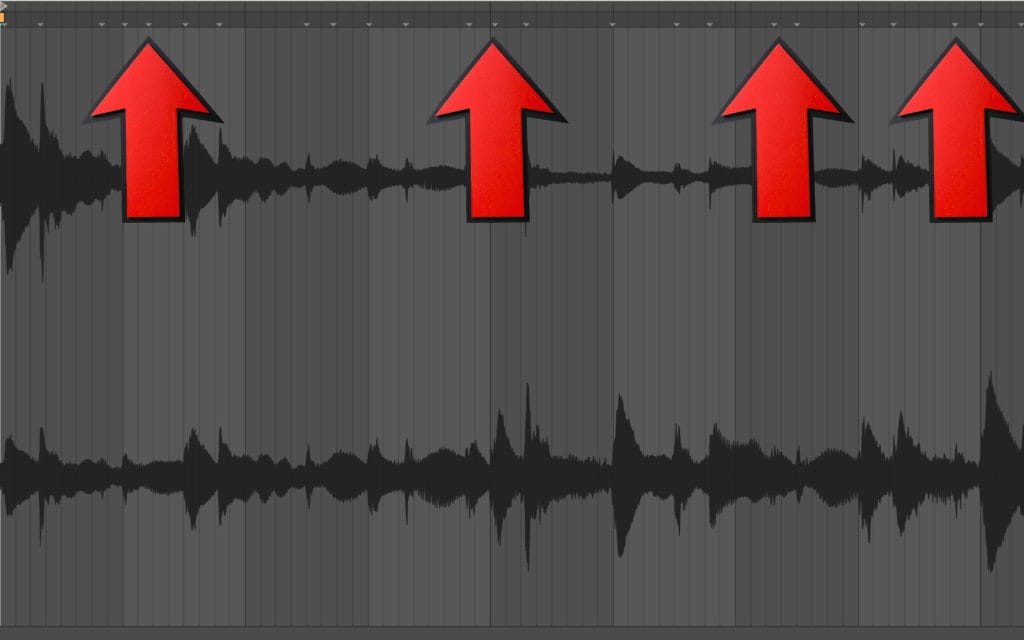
Once Warping is active, place markers at transients you want aligned.
These markers anchor timing in the clip and allow you to move specific events without reshaping the entire recording. This method works for drums, vocals, guitar, percussion or any performance that needs clean timing.
Live also offers direct audio quantization. Select an audio clip, use the Quantize command and adjust settings in the menu. Live will detect transients and move them toward the grid. This is effective for loops or consistent patterns that require minor tightening.
For subtle timing shifts, fewer Warp Markers produce smoother results. This helps avoid artifacts and prevents the audio from feeling pulled out of shape. When you want natural flow in a performance, smaller corrections often give better results than aggressive tightening.
Extracting Groove From Audio Loops
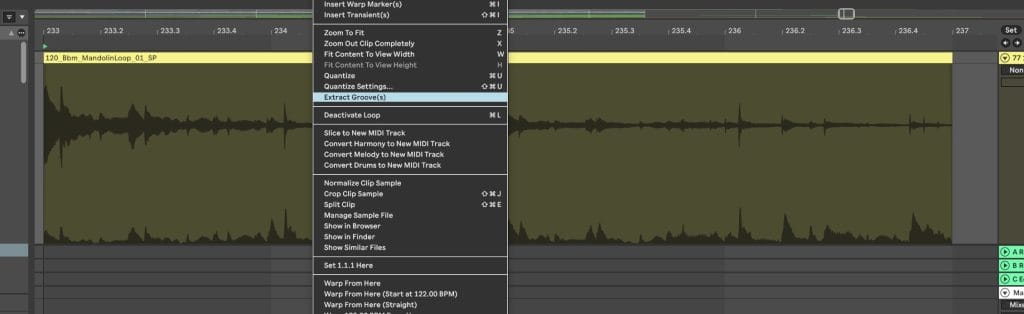
Ableton Live includes a feature that many producers overlook.
You can extract groove information from any audio loop and apply that timing shape to other clips. This allows you to create a unified rhythmic feel across a session, even when combining different instruments, samples or MIDI performances.

To extract groove, right-click an audio loop with a timing feel you respect. Choose Extract Groove and Live will place a new groove entry into the Groove Pool. This extracted groove captures small shifts in timing and velocity that define the loop. Once saved, you can apply this groove to other clips so everything moves in a consistent rhythmic direction. This helps when shaping cohesive drum lines. It also strengthens the relationship between percussion, bass, chords and melodic lines.
A loop from the Magnetic Mag x Black Octopus Sound pack works well here, since the transients are clean and the timing is intentional. Extracting groove from one of those loops gives you a dependable timing template for your entire arrangement.
Imprinting Groove Onto Rigid MIDI Patterns

When a MIDI pattern feels too mechanical, you can imprint the extracted groove onto it. Open the Groove Pool, select the groove you want, then assign it to the MIDI clip. Adjust timing influence, velocity influence and randomization to taste. The clip will begin to shift toward the extracted feel while still holding the general rhythmic structure of your pattern.
This process works well for hats, shakers, chord stabs and percussion layers that sit between the core drum hits. The groove gives these parts micro-adjustments that help them sit with the drums rather than fight the timing. Once the clip feels right, click Commit to bake the changes into the MIDI. At that point the clip no longer relies on the groove file. It becomes a self-contained performance that carries the timing shape within the notes themselves.
Editing MIDI Quantization Settings To Preserve Human Feel
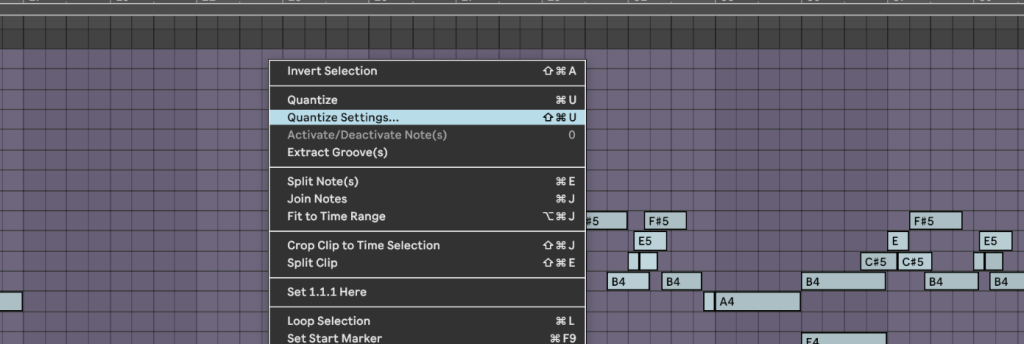
MIDI quantization in Live 12 includes settings that help you hold on to performance nuance while still gaining clarity. The Quantize panel lets you set grid size and amount. Amount is especially important. Instead of snapping everything to the grid, apply fifty to seventy percent strength so notes slide toward the intended timing without losing every bit of individuality.
This is one of the simplest ways to keep a phrase expressive whle helping correct some of the timing issues during your latest jam or recording.

Editing Groove Templates for Timing and Velocity Shaping
Once extracted or selected, groove templates can be edited in powerful ways.
Each groove contains timing offsets, velocity shaping and optional randomization. By editing these values, you can create a custom timing language for your entire track. You can push certain notes slightly ahead, pull others slightly behind, tighten velocity curves or increase dynamic variation.
Editing groove templates allows you to build a repeatable rhythmic signature for the session.
Apply that template to multiple clips and your drums, percussion, bass and chord parts will all follow the same timing philosophy. This creates consistency without forcing complete alignment. It also saves time that would otherwise be spent manually shaping each clip.
Why Use Quantization In Music Production?
Producers use quantization because it improves clarity and stability in arrangements. When timing is well organized, the listener feels a stronger connection between the rhythm section and the rest of the track. It also speeds up production. Instead of recording endless takes, you can shape timing with intention and move forward with the arrangement.
Reference loops from the Magnetic Mag x Black Octopus Sound pack provide clean examples of timing you can emulate. Studying how those loops sit in the grid helps you understand how far to push quantization or how much to allow natural variation.
Final Thoughts
Quantization in Ableton Live 12 offers a broad range of timing tools but the real magic in them all is knowign just the right amount of each to be using. Leaning on any of them too heavily will make your music sound like it’s made on a computer (which I know, I know, it is; but the gold standard is to trick our fans into thinking it’s made outside of the box). Real-time quantization keeps recording sessions smooth. Manual MIDI refinement provides detailed control. Warp Markers shape audio with care. Extracted grooves and edited templates unify rhythm across layers. When combined, these tools help you create productions that feel both organized and expressive.
Approach timing with intention.
Quantize when accuracy serves the arrangement.
Allow variation when it supports the character of the track.
With practice, you will develop a sense for when to tighten, when to leave space, and how to unify the rhythmic movement of your entire session.
FAQ ON How to Quantize in Ableton Live 12
How do you quantize while playing Ableton
You can quantize while playing by turning on Record Quantization in the Edit menu before you begin recording. Live will then align incoming MIDI notes to the selected grid as you perform. This keeps your timing organized and reduces cleanup work after the take. It works well for drums, stabs and quick patterns that benefit from immediate correction.
Pro Tip: Pair Record Quantization with a moderate grid size so your performance stays expressive while still landing in the right rhythmic space.
How to auto quantize in Ableton Live
Auto quantization activates through the Record Quantization setting. Once enabled, Live corrects timing the moment notes enter the clip. This supports live input on keyboards, pads or drum controllers. It also helps new producers maintain timing accuracy during early stages of a track.
Pro Tip: Use smaller grid values for faster note patterns and larger grid values for chords or slower phrasing so timing feels natural.
What does Ctrl+J do in Ableton
Ctrl+J, or Command+J on Mac, consolidates selected clips into a single new clip. This resets warp markers and gives you a clean region to continue editing. It also simplifies arrangements by reducing small fragments into one unified clip. This becomes especially useful after timing edits or groove adjustments.
Doing this will also imprint the swing templates and warp markers (in audio at least) into the clip, so all of those quantization settings will then be baked into the new, consolidated clip.
Pro Tip: Consolidate clips before exporting stems so collaborators receive clean, continuous files with no unexpected breakpoints.
What is the shortcut key for quantize in Ableton
The primary shortcut for quantizing in Ableton is Ctrl+U on Windows or Command+U on Mac. This applies quantization immediately using your last quantize settings. If you want to adjust grid size or strength, use Ctrl+Shift+U or Command+Shift+U to open the quantize menu. These two shortcuts streamline timing correction during editing.
Pro Tip: Set your preferred quantize settings early in the session so the quick shortcut always produces the timing behavior you expect.